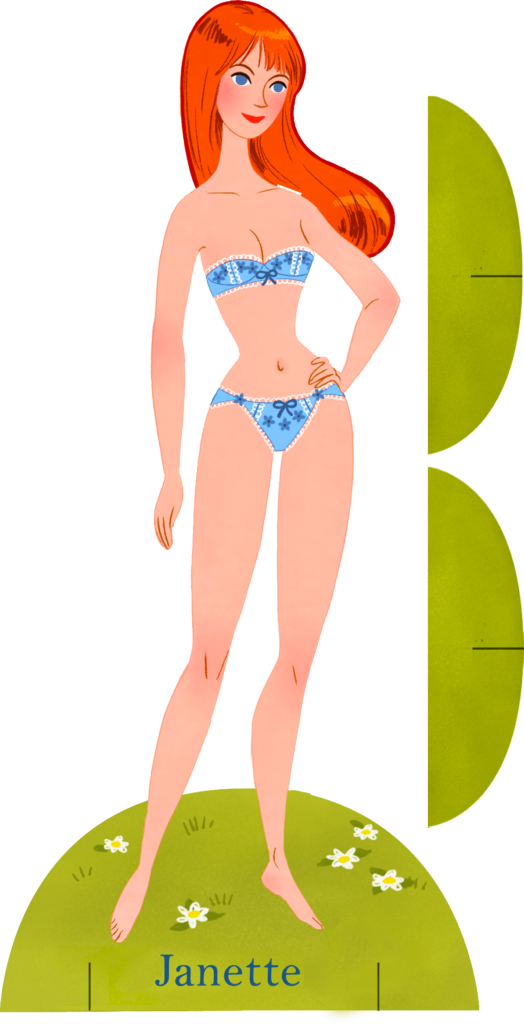
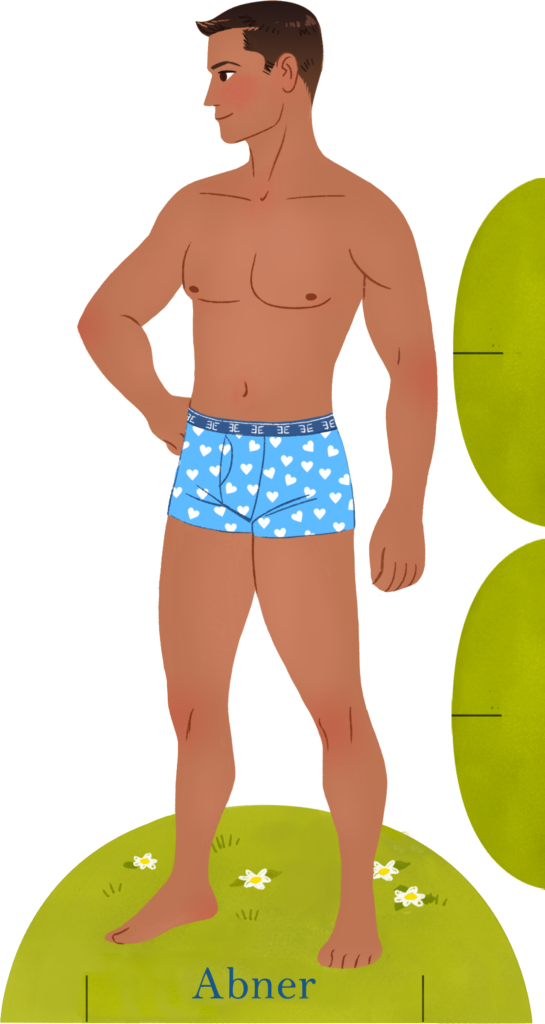
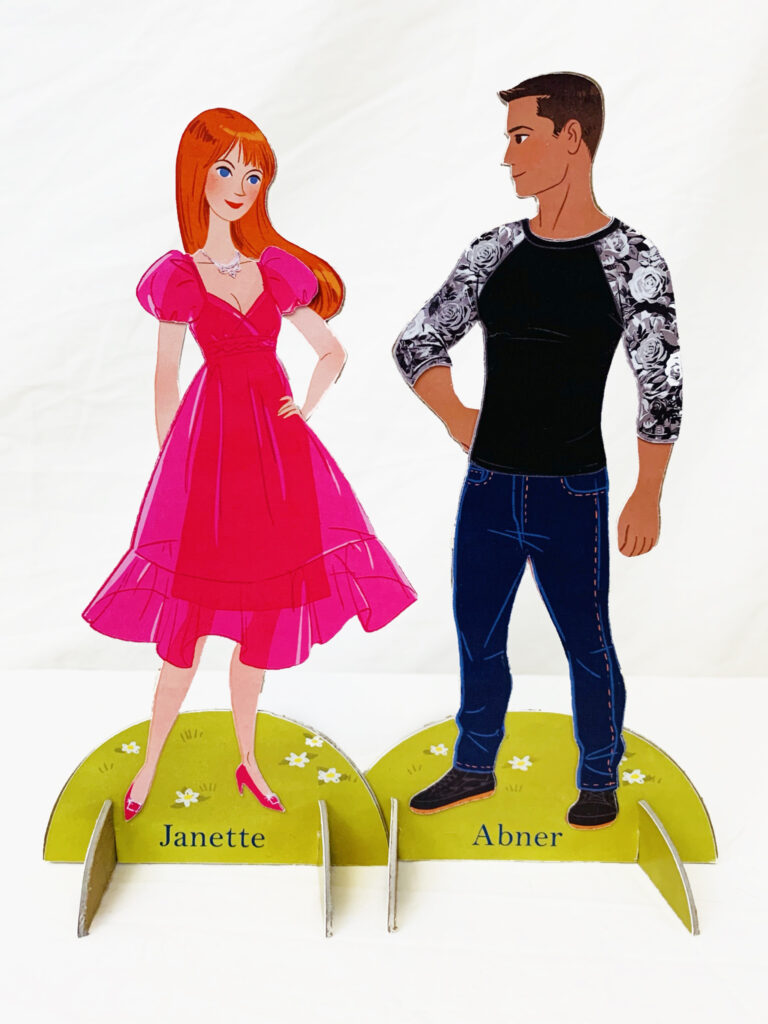
Last year I had the idea to make some paper dolls as a fun way to document my fashion sewing projects. I designed them with a vintage modern look inspired by mid-century illustration, like retro movie-star versions of my boyfriend and myself.
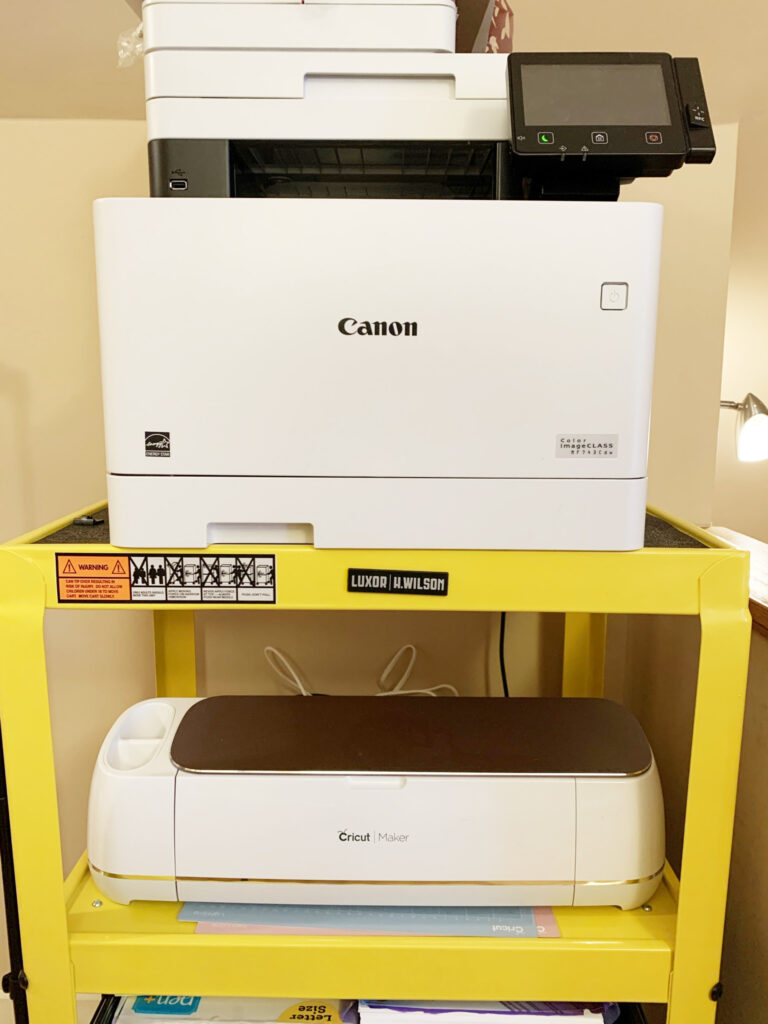
Then my old inkjet printer died, so I laid the project aside for awhile… but at Christmas, I decided to go all out and invest not only in a Canon color laser printer, but also a Cricut Maker! I’d read about the Cricut’s Print then Cut feature, and I thought it would be the perfect tool for custom paper dolls.
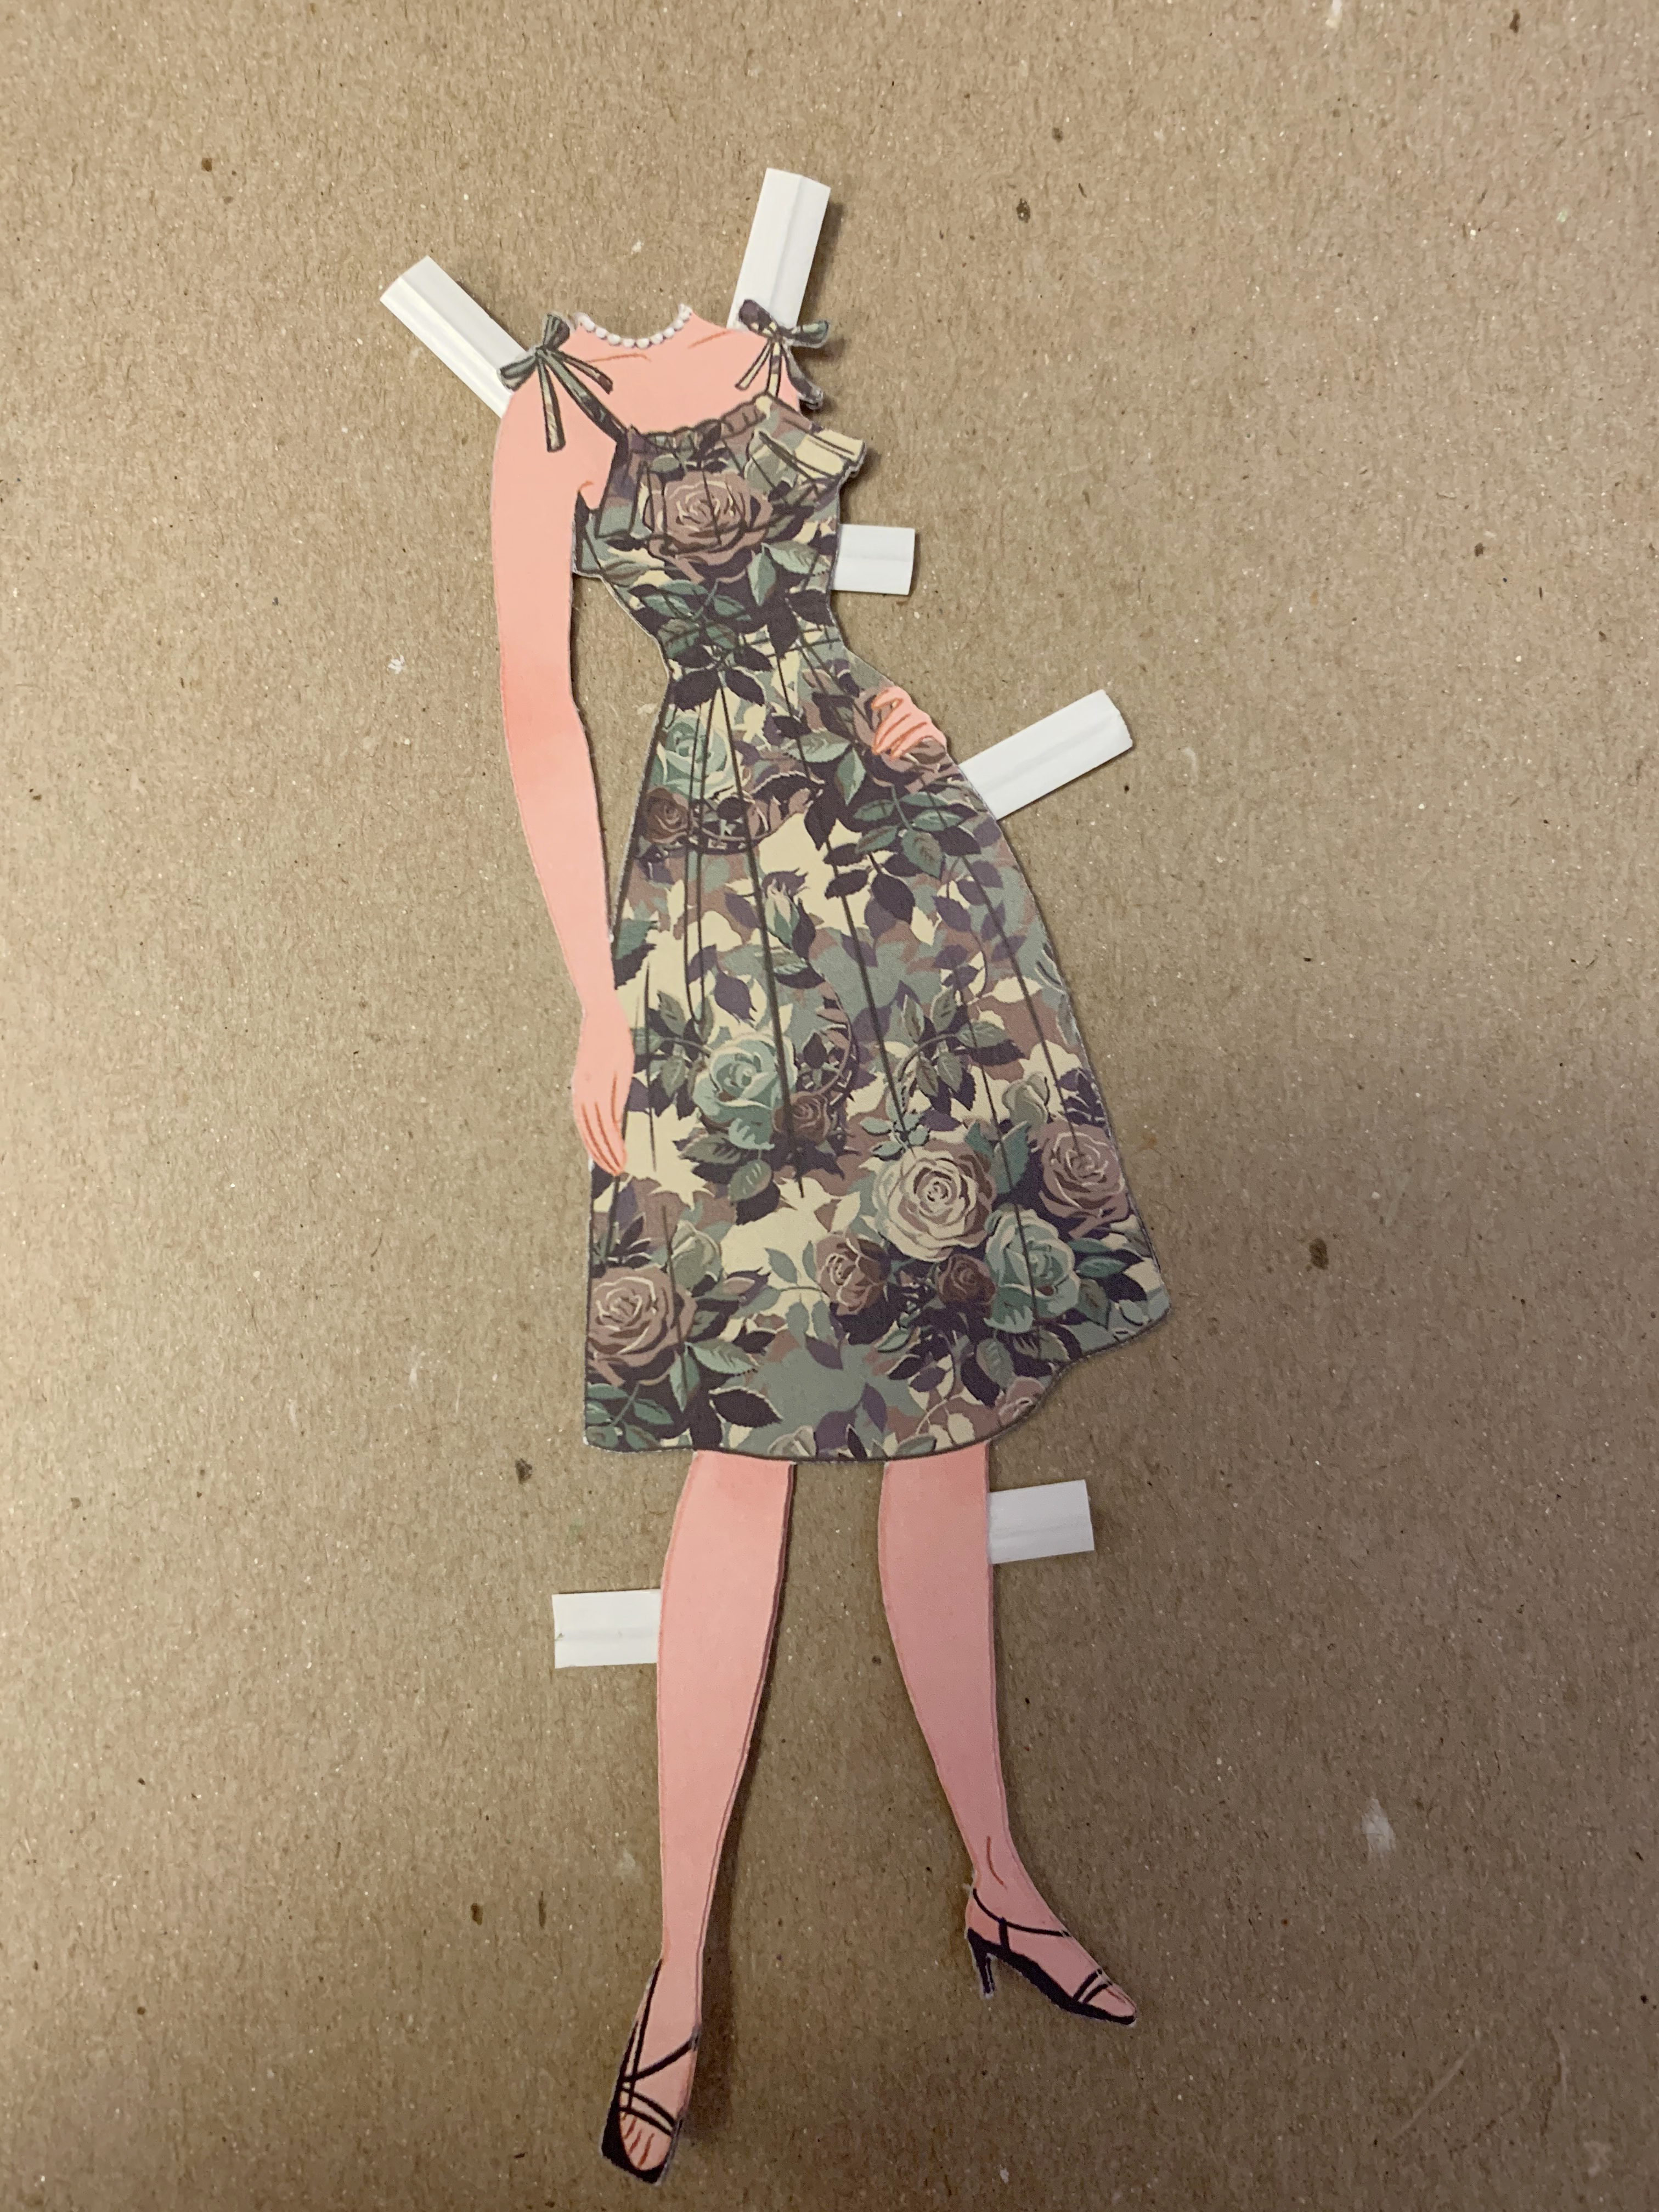
With the Cricut, I was able to add a heavy chipboard backing to the paper dolls so they are nice and sturdy. I did this by creating both a Print then Cut (for the printed, full-color front) and a Cut (for the plain, heavy chipboard backing) version of each doll.
There was learning curve with Cricut Design Space software and I made many test prints and cuts and calibrations. One thing I would note is that the Print then Cut and the Cut versions of the paper dolls could not be sized the same if I wanted them to line up; the Cut version had to be scaled down slightly. I also managed to cut through my grip mat when cutting the backings, because I set the chipboard material to too thick of a setting! So it has been a lot of trial and error, but now I’ve got a pretty smooth system in place.
Here’s a video of the Maker in action:
Here’s a shot of peeling the excess paper from the mat after cutting.
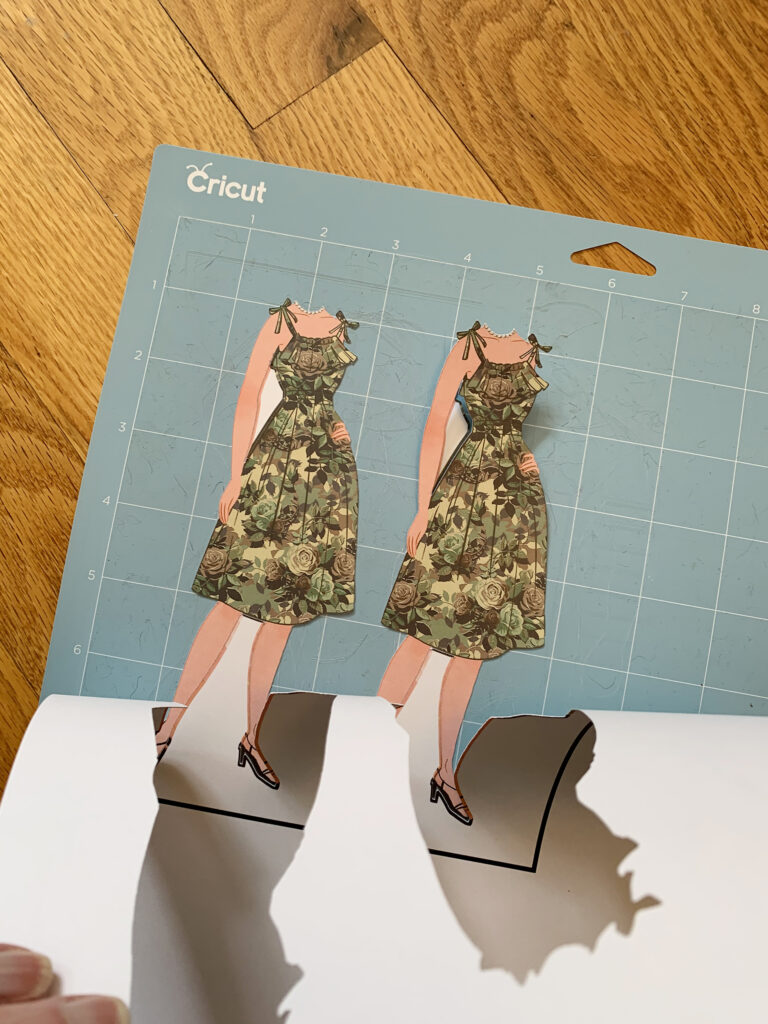
For each outfit, I print and cut 2 layers of cardstock so I can sandwich the tabs, made from wired paper twist ties that fold nicely around the thick chipboard paper dolls, between the layers. I use Elmer’s Craft Bond Tacky Glue to attach the tabs to the bottom layer and then apply a glue stick to the top layer of the outfit.
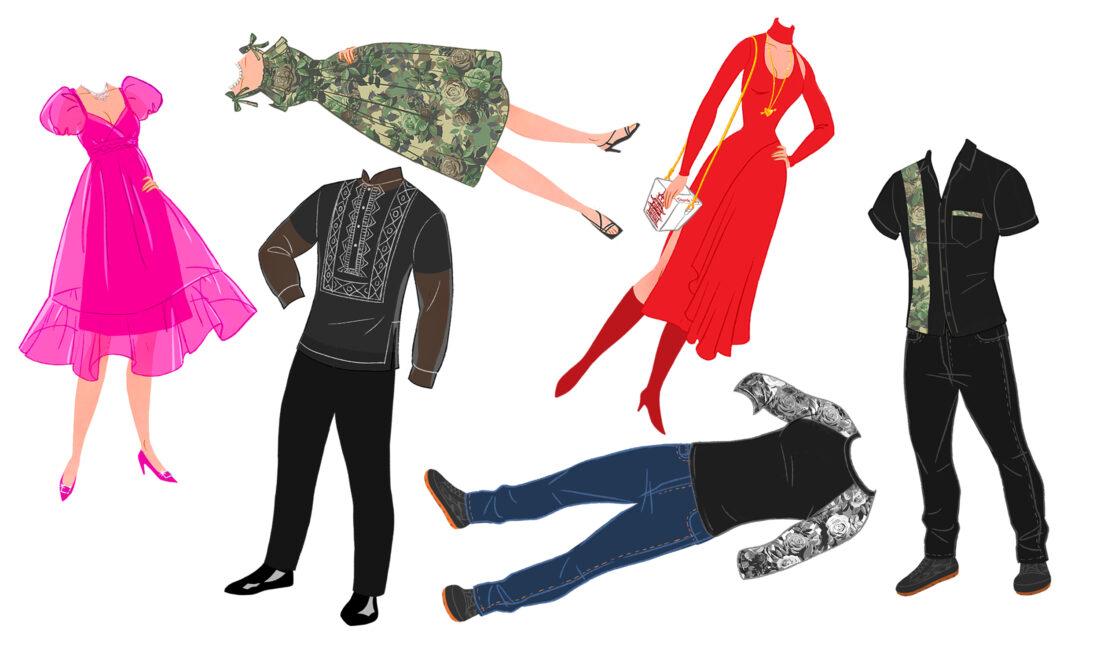
And here are the finished paper dolls and the outfits I’ve created so far, along with their real-life counterparts sewn by me.
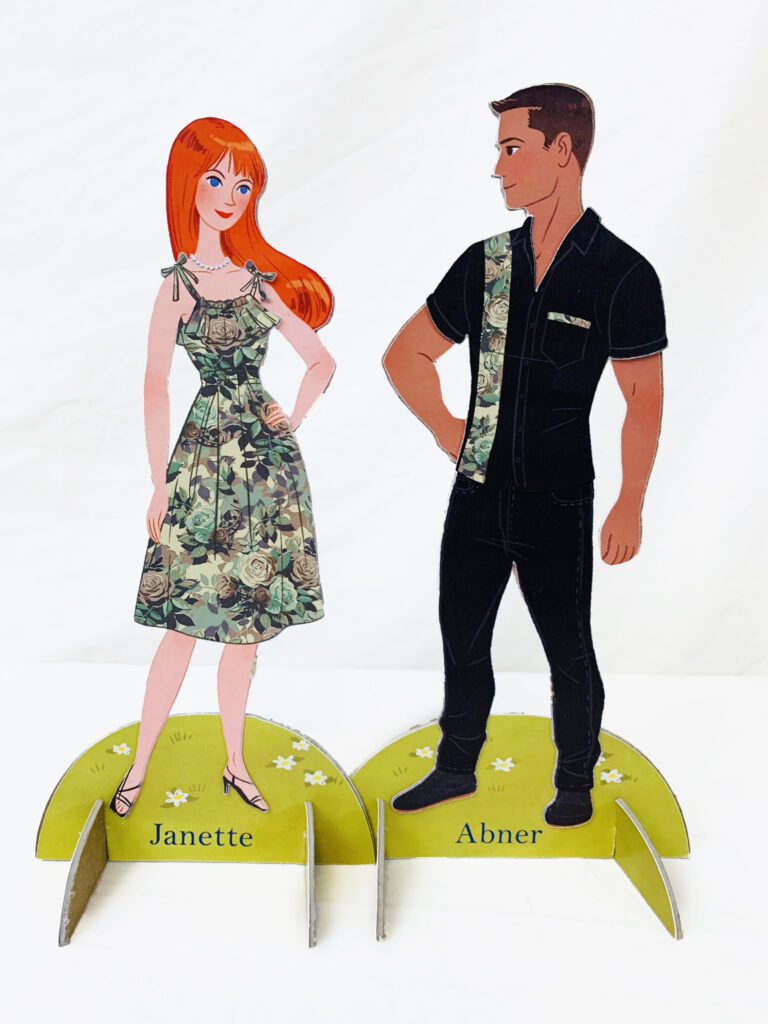
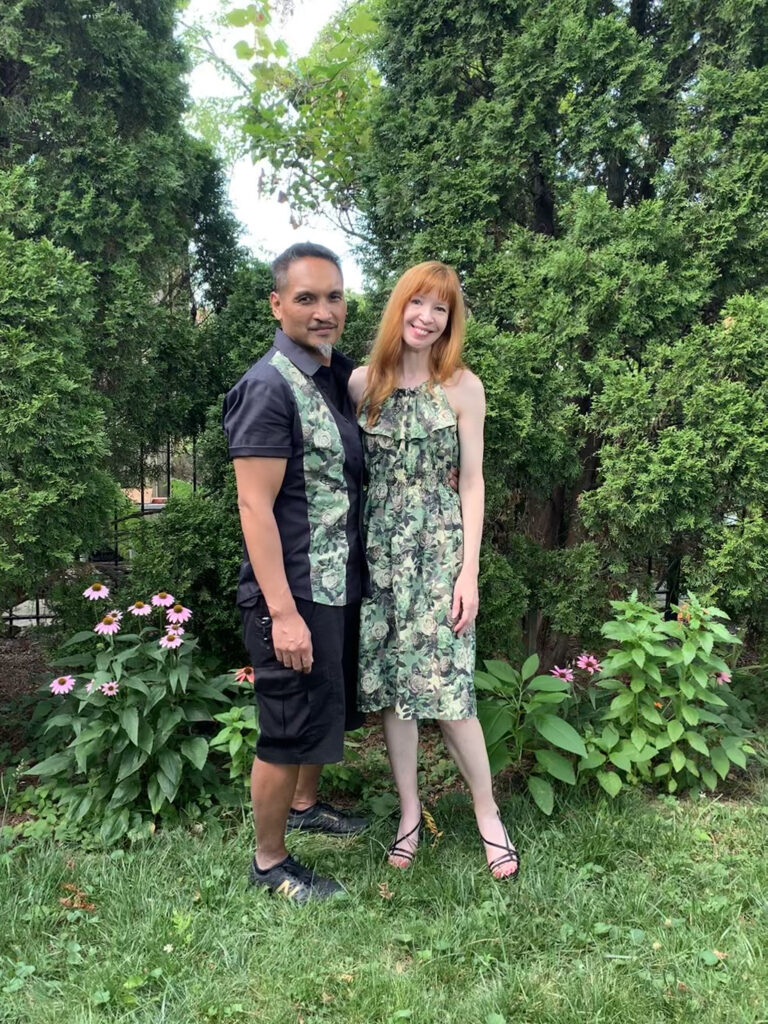
I designed the floral camo fabric above as well, and it is my best-seller on Spoonflower!
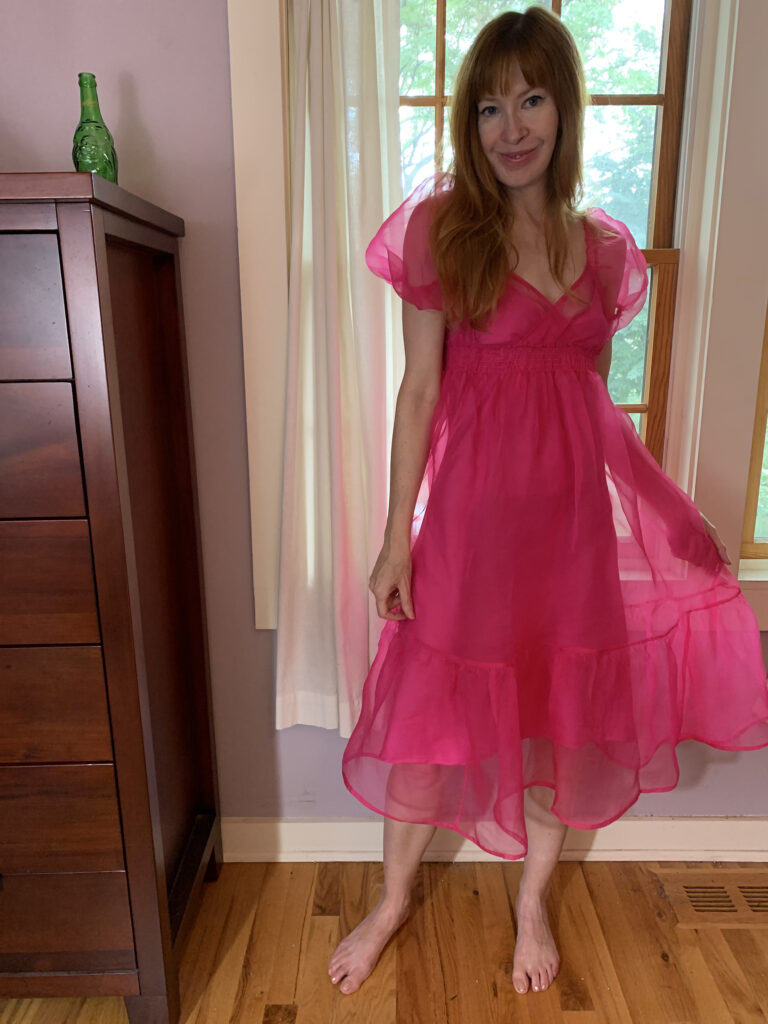
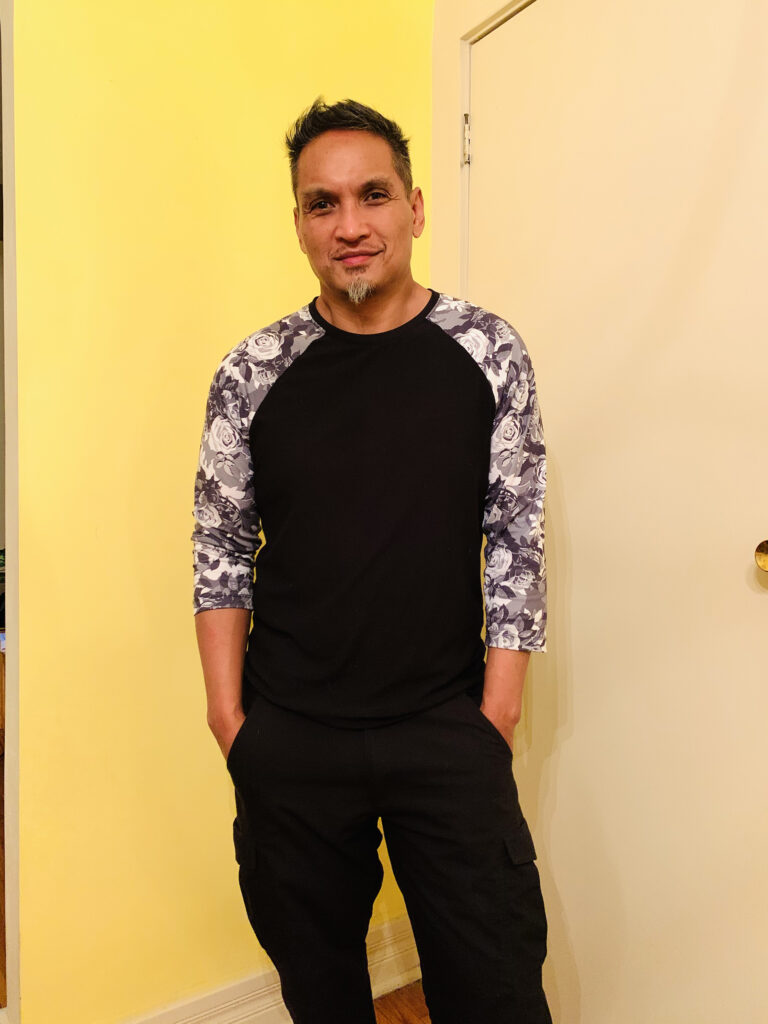
The pink dress is silk organza and Jim’s shirt uses a black-and-white knit version of the same floral camo fabric as the previous outfits.

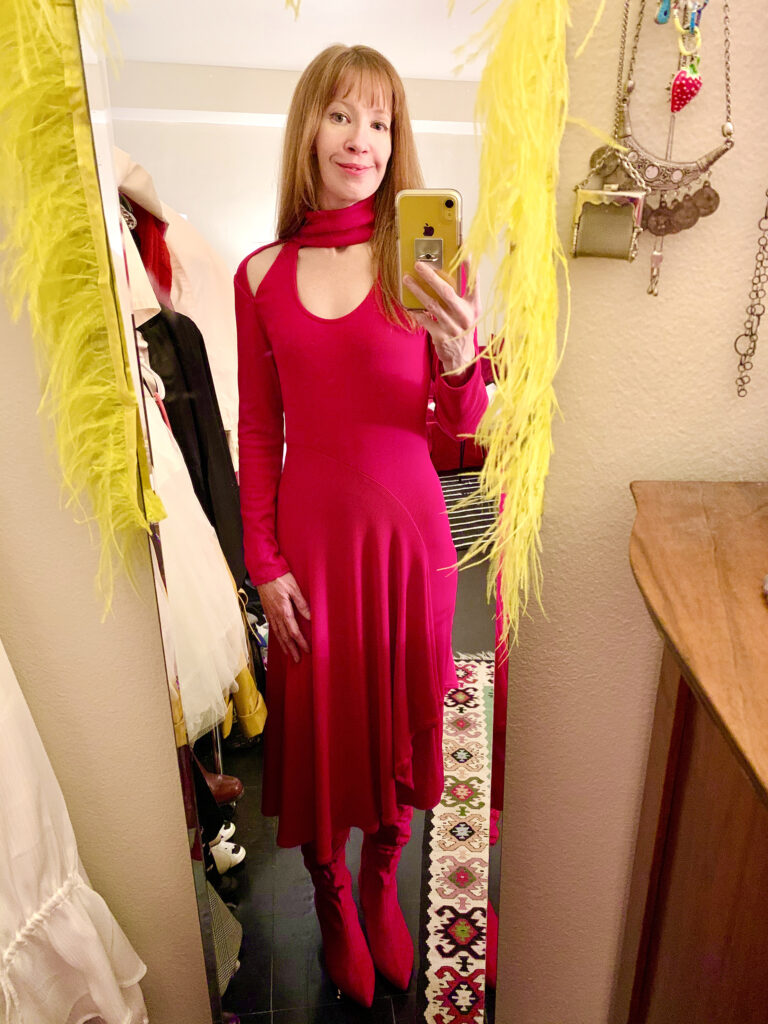
The red dress here was my Valentine’s dress from last year and my own original design.
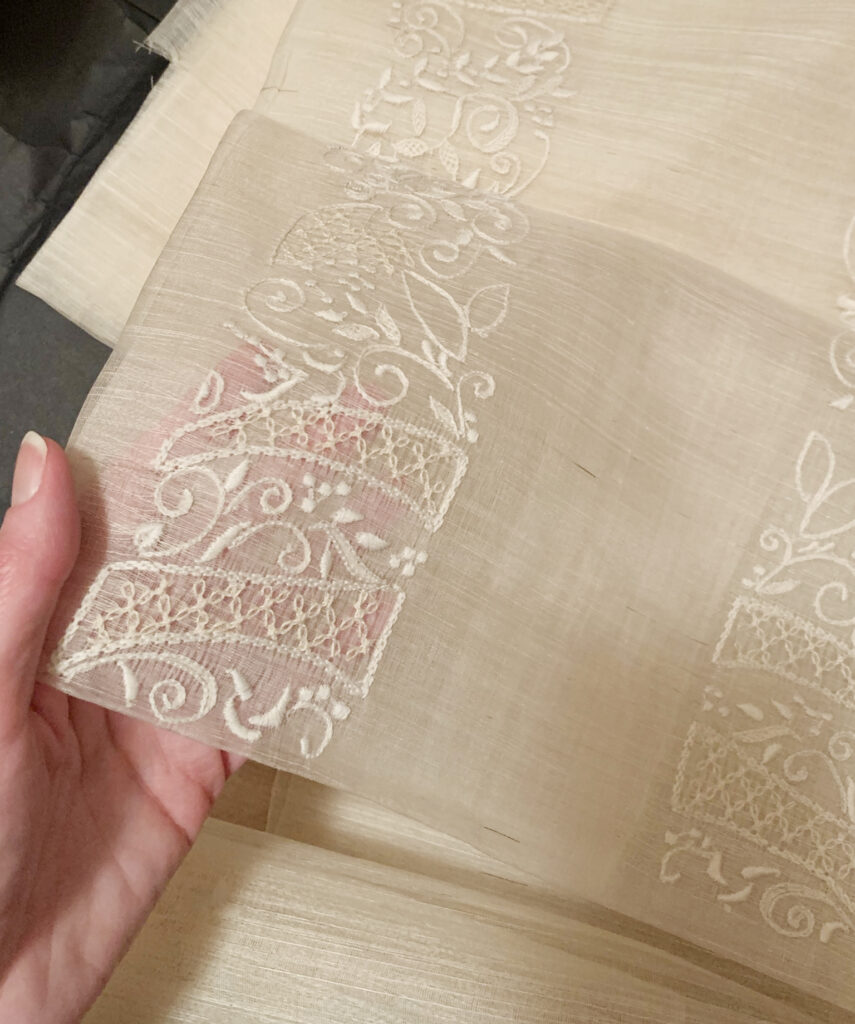
The man’s shirt is a traditional Filipino formal shirt called a barong — I haven’t made it yet, but I will someday. Here’s a look at the fabric, which is woven and embroidered with fibers from the pineapple plant. I also bought some extra fiber so I can attempt to add my own embroidery. Then I also plan to dye it black! When I get around to making this shirt, I’ll do a post with more information about the textile and history of it.
So that’s it for now on my paper dolls, but I plan to keep expanding their wardrobes as time permits. I always loved playing with paper dolls as a kid, so it has been a really fun and nostalgic project!